December 22, 2015
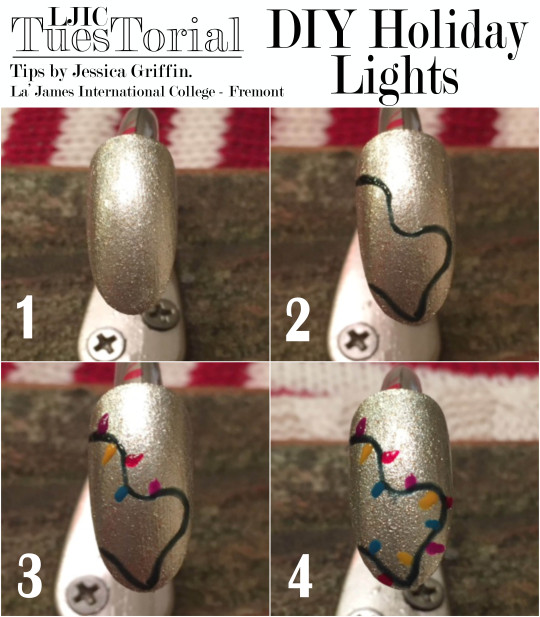
DIY: Holiday Lights
Check out this seasonal nail TuesTorial that is quick & cute! Today’s Holiday Lights design was created by Jessica Griffin, a Nail Technology student at La’ James International College in Fremont.
What you will need:
- Base Coat
- Black Polish
- Polish of your choice to be the background
- Red, Blue & Yellow polish. (OR 3-4 colors of your choice to become the lights.)
- Top Coat
- Striping Brush
- Bobby Pin
- Small piece of wax paper or plastic.
Step 1: Apply a base coat followed by 2 coats of polish in the color of your choice & let dry. This will be your background color.

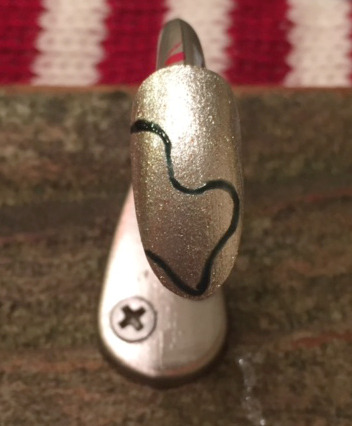
Step 2: With a striping brush & black polish, paint a squiggly line. Create any length &/or any shape. Just be creative!
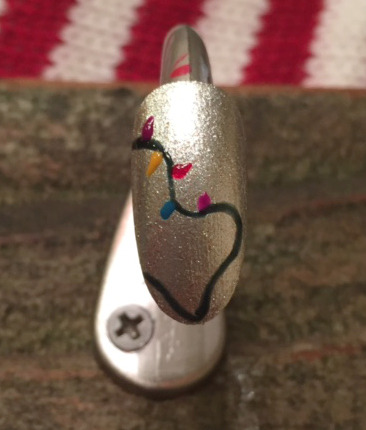
Step 3: Next, it is time to create the lights! Place the colors of your choice on a small piece of wax paper or plastic. Then using one end of the bobby pin, dip it in the polish that is on the wax paper and lightly place the polish on one side of your black line (string). To create a more realistic look, drag the dot outward a bit. Make sure to alternate on each side of the line (string).
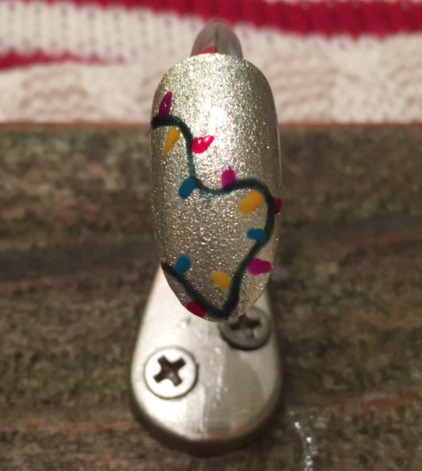
Step 4: Finish with Top Coat
Great job Jessica! Thank you for the tips & for participating in today’s LJIC TuesTorial!
Are you interested in learning more about La’ James International College & the programs offered? Call 888.880.2108 or visit www.LJIC.edu today!
Leave a Reply