August 9, 2016
DIY Water Marble Nails
Are you interested in water marble nail design? Dive into the mesmerizing world of nail art with our simple, step-by-step DIY water marble nail tutorial.
Water Marble Nails Step-by-Step for Beginners
Creating beautiful water marble nails at home doesn’t have to be a tedious or complicated task when you have the right guidance; it can be a fun and straightforward process, enabling you to achieve stunning marble nail art with ease.
Check out this fun & easy DIY Water Marble Nails tutorial by Abbigale Gordy, Cosmetology Student at La’ James International College in Des Moines.
What You Need
You likely already have all the necessary materials for a water marble nail design right at home:
- 2 Different Colors of Nail Polish
- Bowl of Water
- Hairspray
- Nail Polish Remover
- Cuticle Remover
- Clear Top Coat
Necessary Steps
Here are some straightforward steps you need to follow to achieve this amazing nail design:
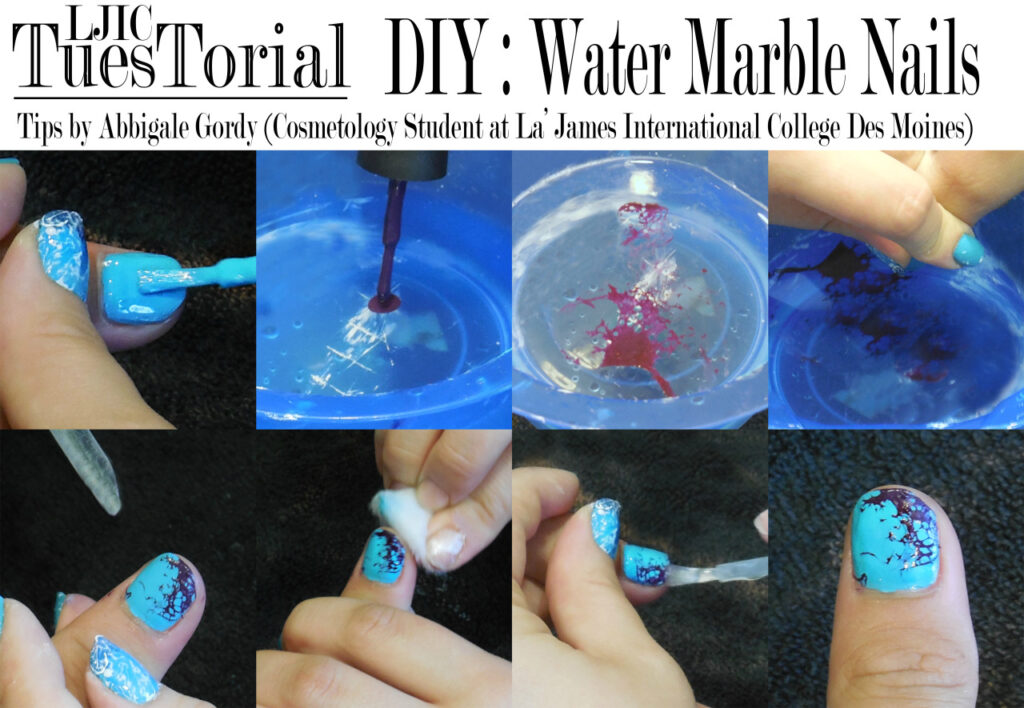
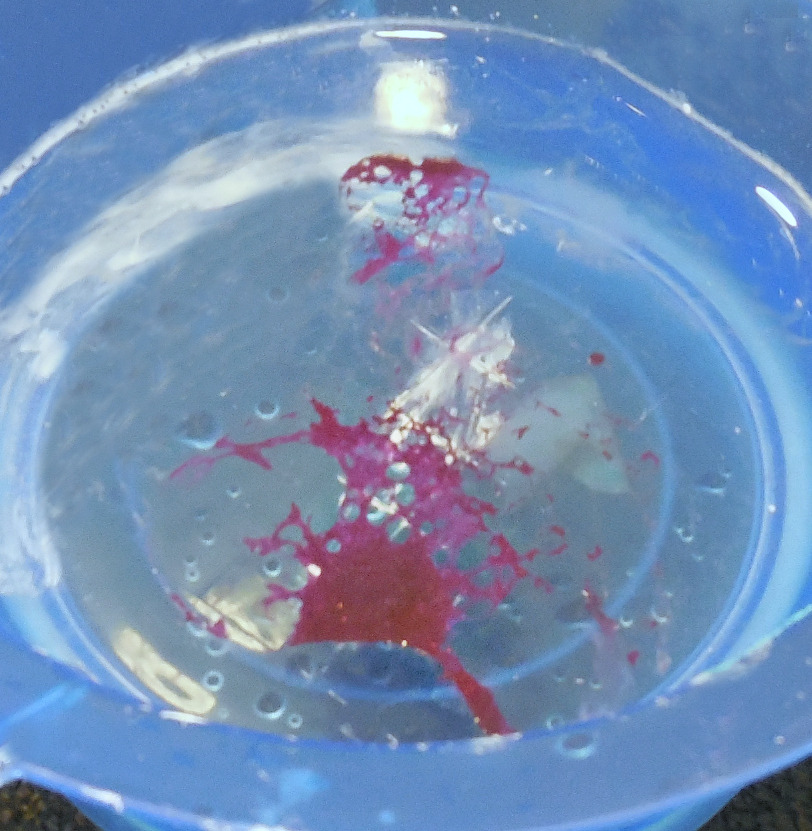
Step 1: Apply your favorite color of polish to the nail.
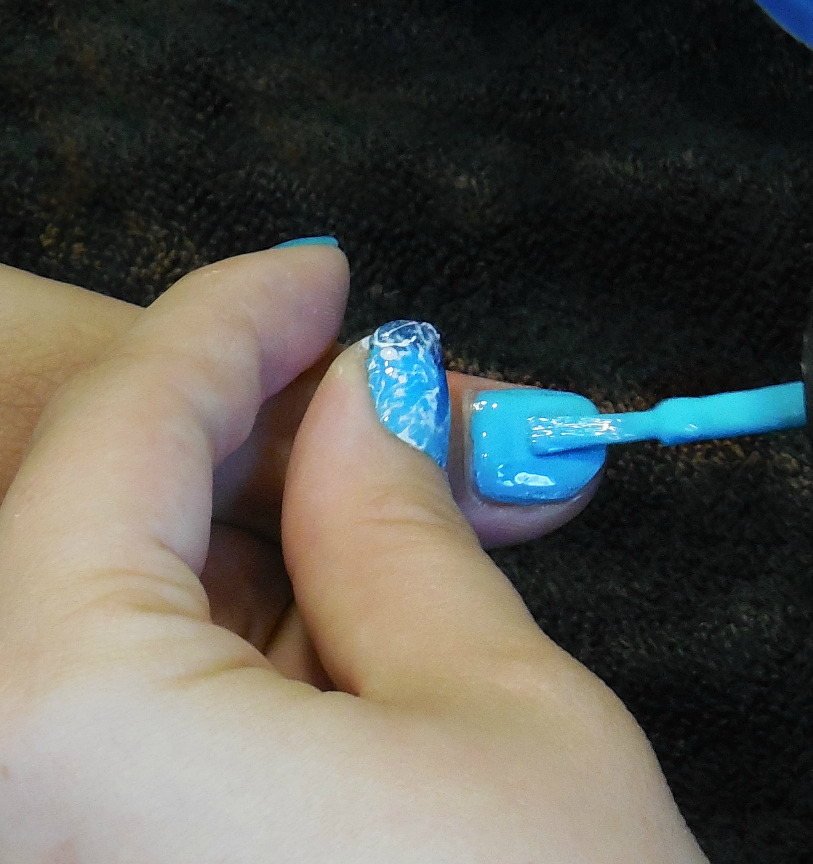
Step 2: Add a few drops of your 2nd color into the bowl of water.
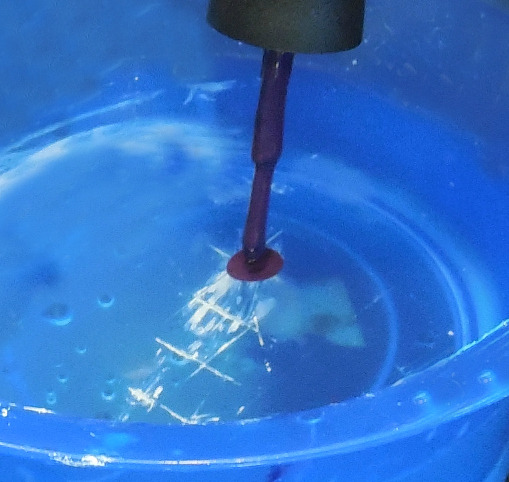
Step 3: Spray the droplets of polish with a little hairspray until the polish begins to spread out.
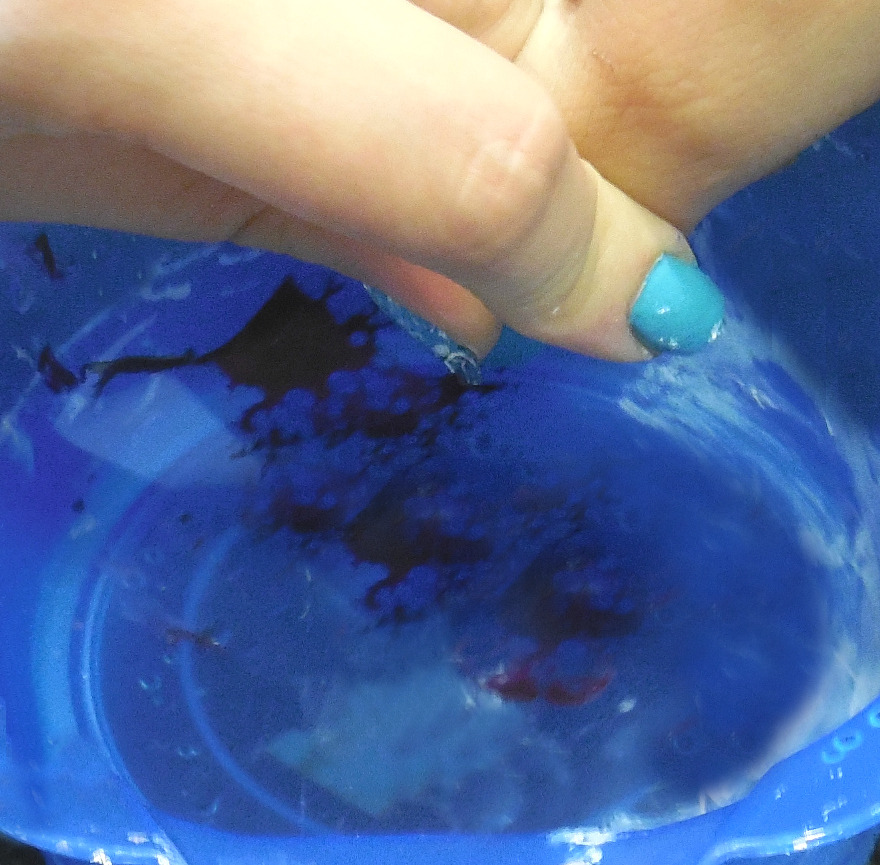
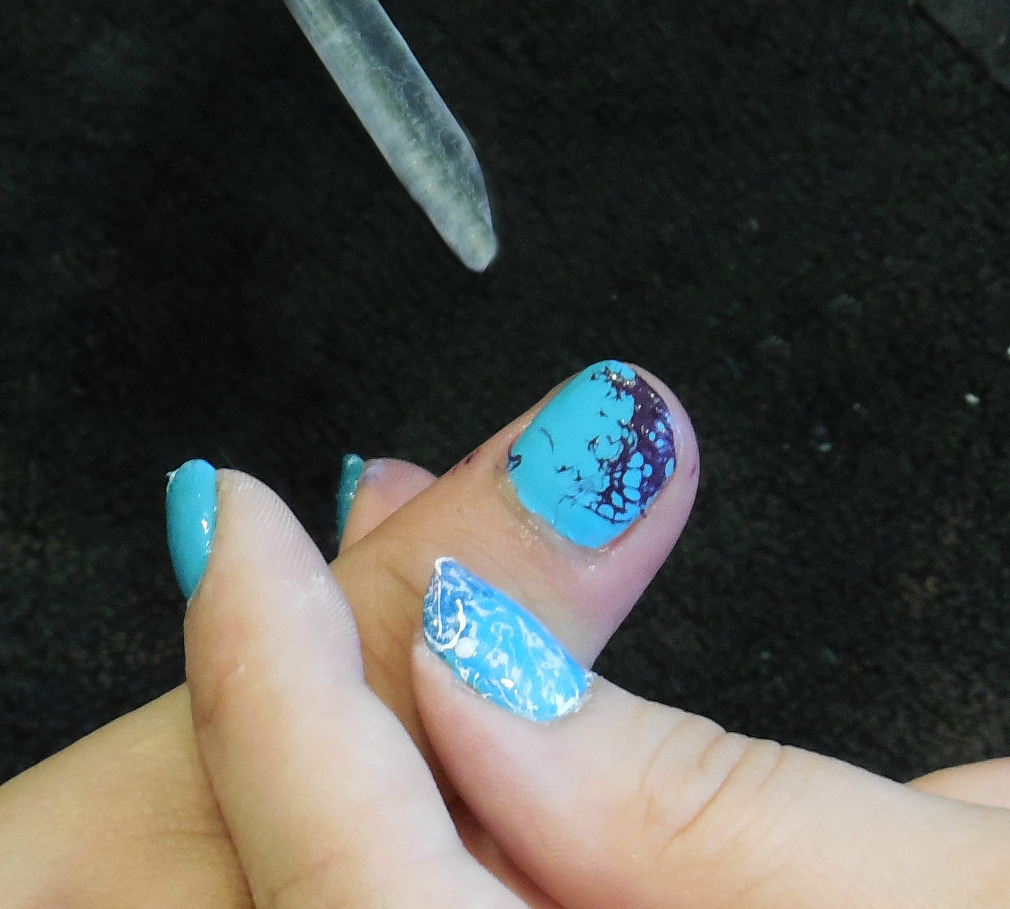
Step 4: Slowly dip your nail into the water & swooping up the polish creating a unique marble design.
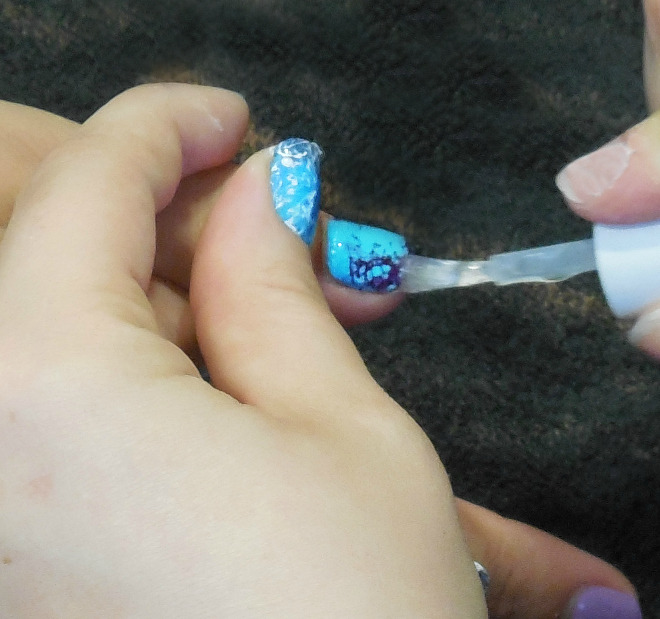
Step 5: A little clean up is needed so grab a cuticle remover to help remove the excess polish that is not on the nail.
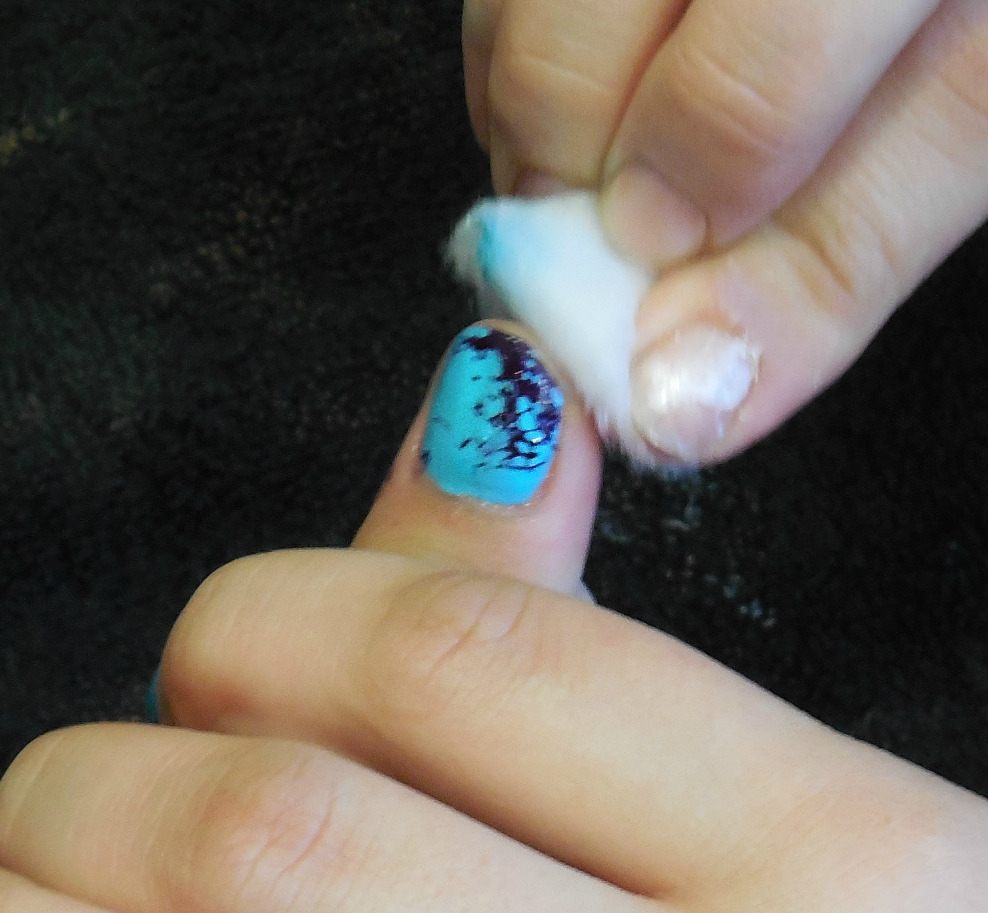
Step 6: You may also need to apply a little nail polish remove around the nail for additional clean up.
Step 7: Finish with clear top coat for protection & shine!
Time for the Final Look… Fantastic job Abbigale!!
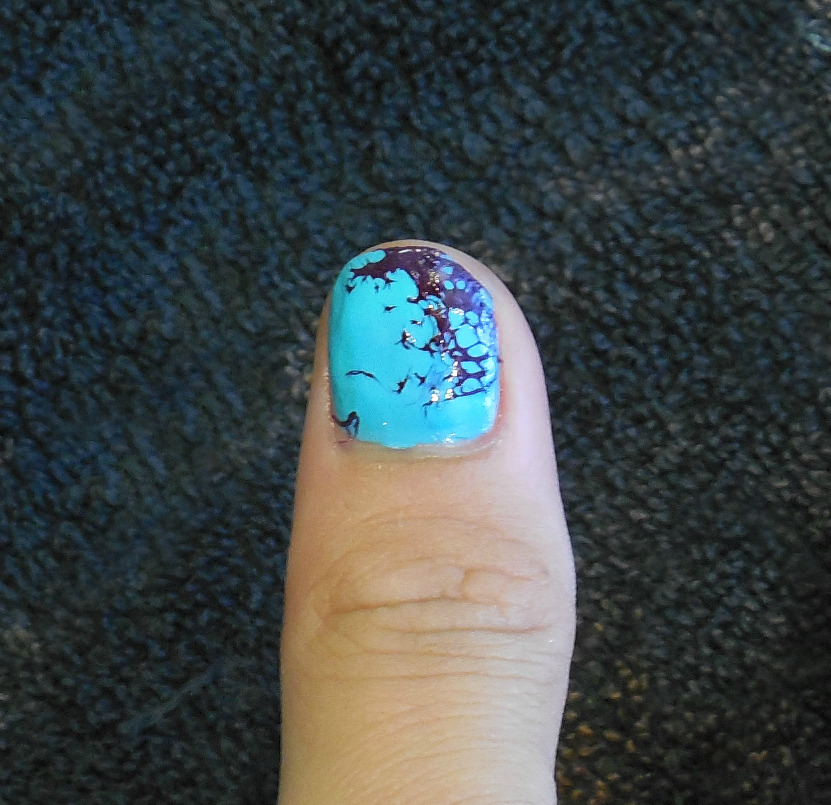
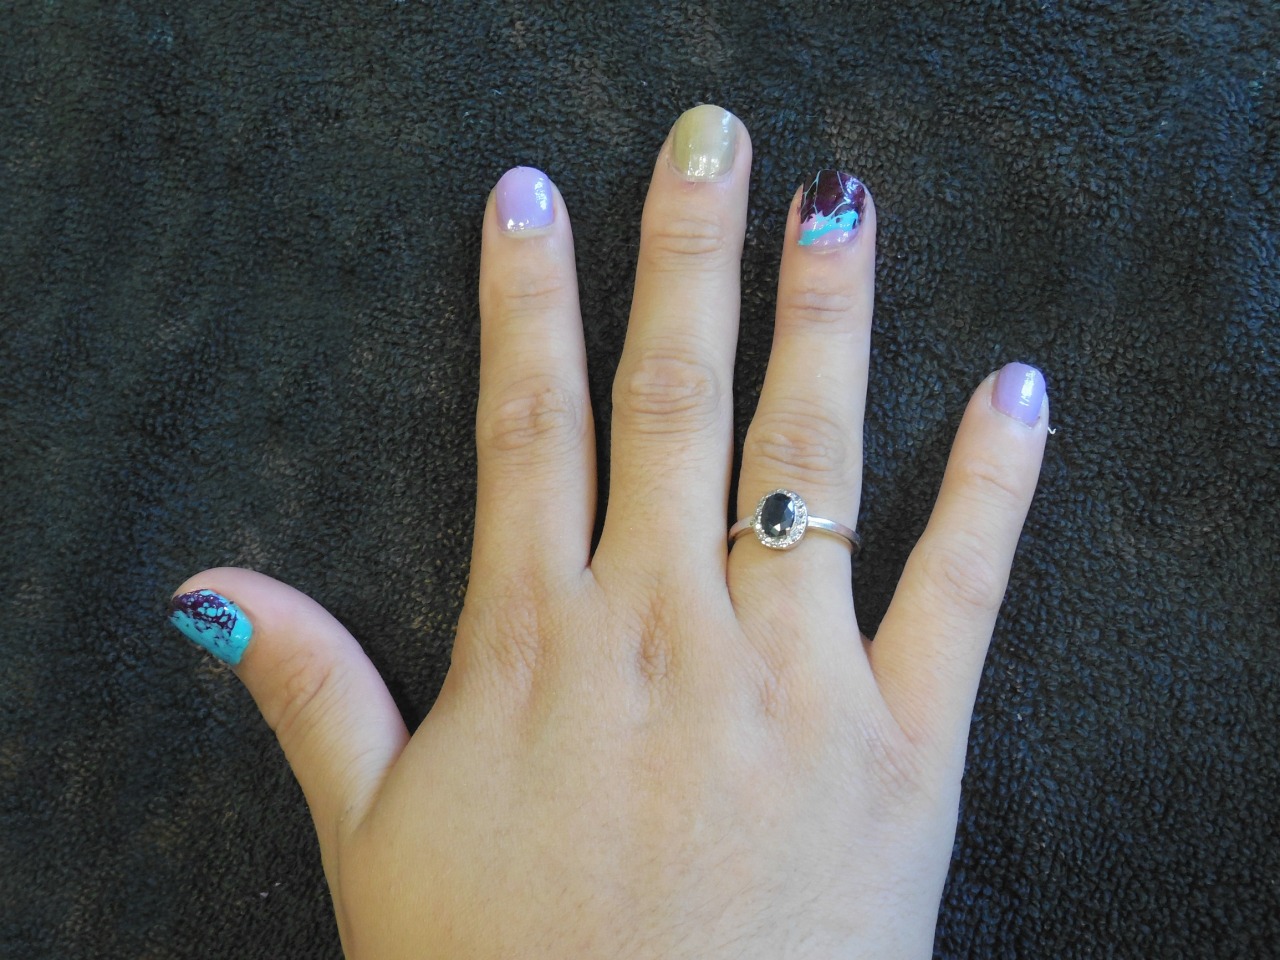
Thank you, Abbigale, for sharing these great tips & for participating in today’s #LjicTuesTorial.
Additional Tips for Perfect Water Marble Nails
To achieve perfect water marble nails, consider the following:
- Choose the right nail polish – Opt for polishes that dry slowly to facilitate optimal spreading and blending.
- Nail preparation is key – Begin with clean, bare nails, and apply a base coat for a smooth polish application.
- Master the technique – Drop the polish gently onto the water’s surface and manipulate it with a toothpick just before dipping your nail.
- Use room-temperature water – It will minimize the possibility of creating unwanted bubbles in your water marble design.
Ready to Embark on Nail Art Journey?
If you’re passionate about water marble nail art and eager to master the craft like a pro, explore our Nail Technician Program page. There you can delve into comprehensive learning, unlocking the path to becoming a skilled and professional nail artist.
Leave a Reply