December 23, 2016
Holiday Styles you need to try!
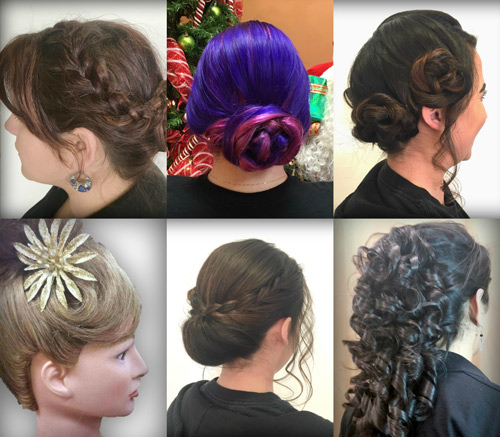
Yes, It’s that time of year… glitz, glamour, glitter & elegance! We all want to look our best for upcoming Holiday festivities and students from La’ James International College have you covered! They are showing off styles perfect for your next gathering! Get tips on how each look was created or let these hairstyles inspire you to create your own Holiday look!
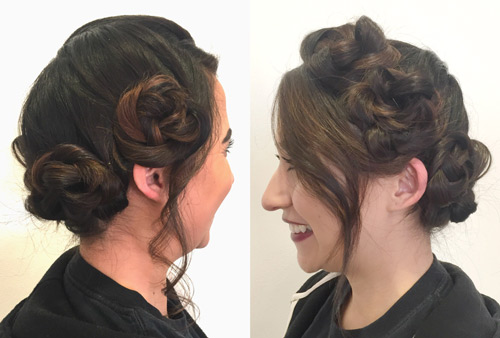
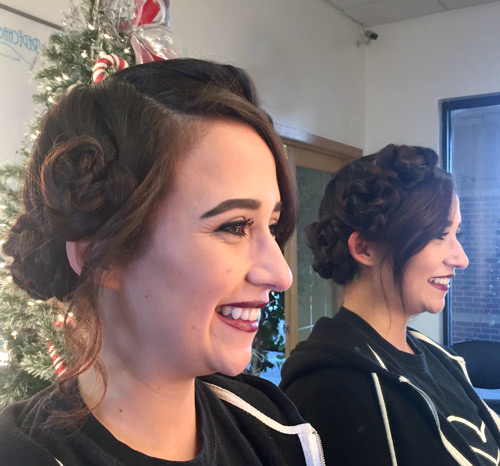
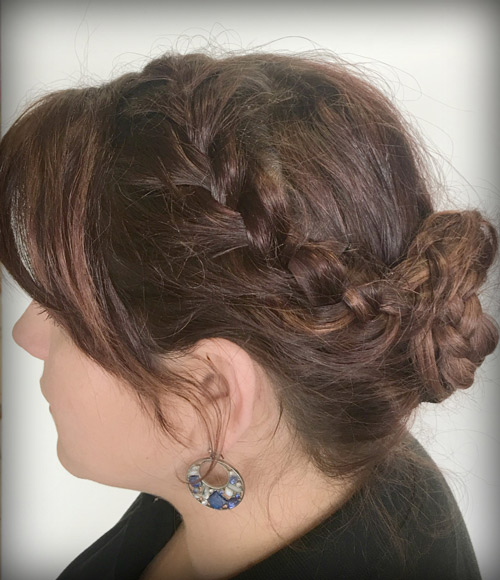
Get the Look: Flower Crown Braid
(★Inspiration by Jamie Knight from La’ James International College Des Moines)
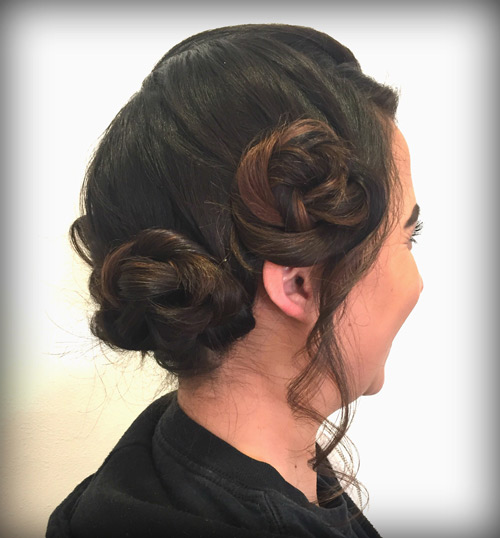
- Part the hair into 6-8 sections, starting at the crown.
- Braid each section to the ends.
- Pull on each braid to flatten out & create fullness.
- Roll each braid up to the base of the hair. This should resemble a flower.
- Pin in place with a bobby pin.
TIP ➳ Leave out fringe area to curl & refine the look.
✫✫✫✫✫
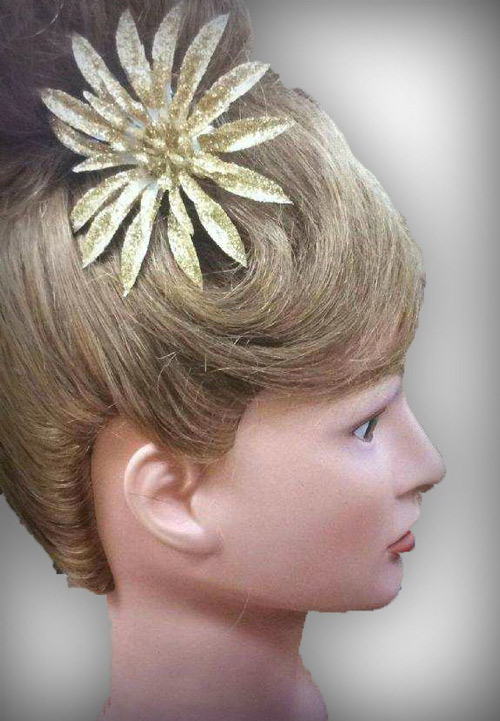
Get the Look: Holiday Fake Bang
(★Inspiration by Sara Hickman from La’ James International College East Moline)
- Pull hair into high ponytail
- Pull the hair almost all the way through and leave a little end of the ponytail out for the bang
- Pull fake bangs into place, shaping however you like.
TIP ➳ Add a flower or holiday embellishment for some extra glitz!
✫✫✫✫✫
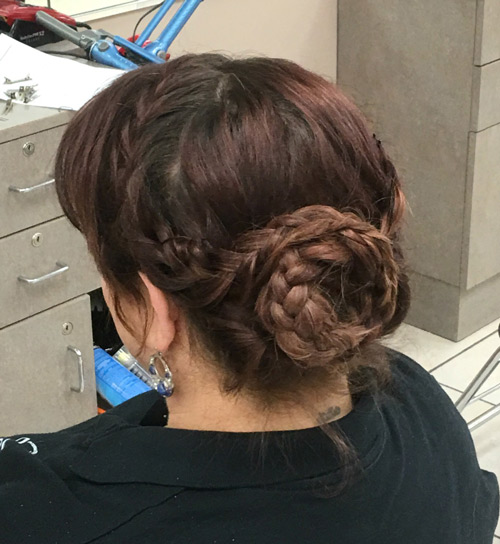
Get the Look: Flower Braid Up-Do
(★Inspiration by Laura Thomas from La’ James International College Cedar Falls)
- Divide the hair into four vertical sections. One on the right and one left side of the head, then section the back into two halves. Braid the two back sections into a regular braid and secure with an elastic band.
- Next, Braid the section on the right into a regular braid and secure with an elastic band. Gently pull on the edges of the braid to make it flat & wide.
- With the remaining section on the left side, braid the hair into a French braid until it reaches the left ear. Once you have reached the year, finish braiding the section in a regular braid. Secure with an elastic band and then pull on the braid to make it wide & flat.
- Working with the back two braids, take the braid on the right and wrap it upwards. Then spiral it clockwise into a bun with the end of the braid (and elastic) wrapping into the center.
- Pin down the edges of the braid to keep it secure. Use as many bobby pins as you need until it feels snug against the head.
- Take another braid at the back of the head and wrap it counter-clockwise around the outer edge of the bun created in the previous two steps.
- Pin down the edges to secure in place.
- Next, take the braid from the left side & wrap it over the top of the bun and around the left side.
- Tuck the end underneath the bun and pin with bobby pins.
- Take the remaining braid on the left side and wrap it over the bun.
- Wrap the braid around the right side and pin the end underneath the bun.
- Spray the style with a firm-hold hairspray and smooth down any flyaways.
✫✫✫✫✫
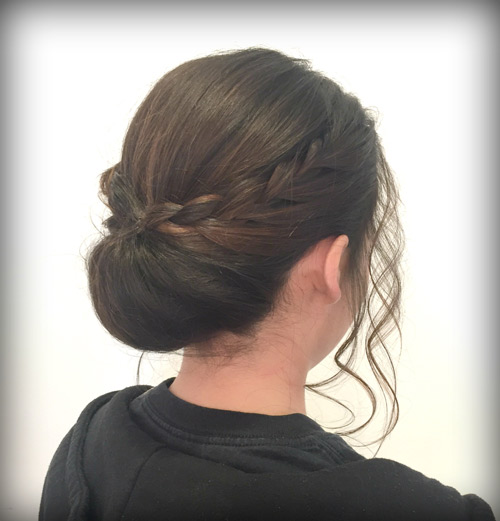
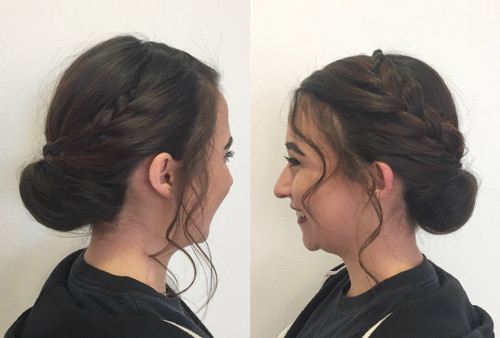
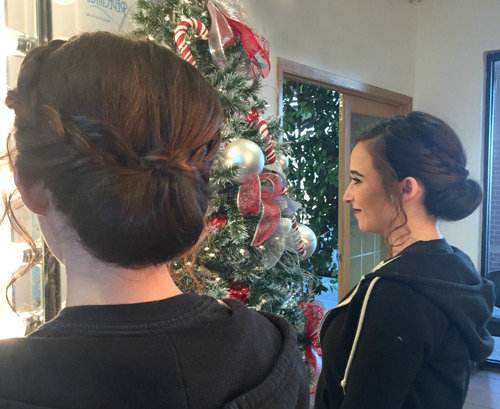
Get the Look: Lace Braided Low Chignon
(★Inspiration by Jamie Knight from La’ James International College Des Moines)
- Section hair behind the ears and across the top of the head.
- Backcomb the crown area to create volume.
- Pull the back section into a low ponytail, leaving out a 1 inch section at the nape of the neck.
- Turn ponytail into a Topsy-Tail and continue rolling the hair into a bun. Then pin in place.
- Lace braid from frontal section over directing the hair towards the bun. Do this on both sides of the part.
- Pin on the top of bun.
- With remaining hair at the nape of the neck, pull up and over bun and pin in place. Hide ends under lace braids & pin into place.
✫✫✫✫✫
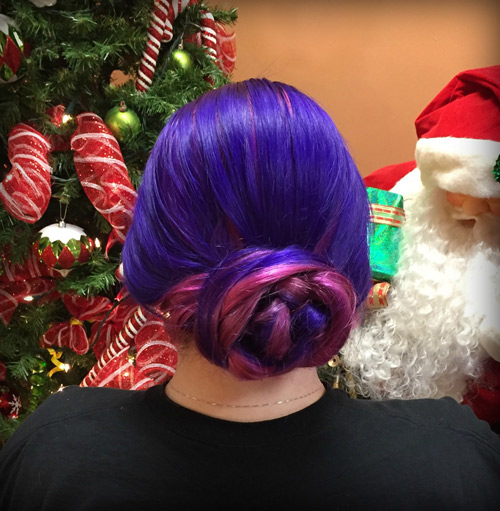
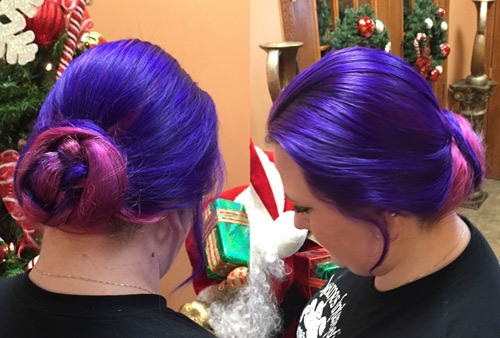
Get the Look: Celtic Knot Bun
(★Inspiration by Glenda Martin from La’ James International College Fort Dodge)
- Part hair down the center
- Create a loop on the left section.
- Cross the right section over the left and pull it up across the back.
- Pull the hair that is closest to the scalp through the loop on the left and pull the hair from the back through the new small loop. Then pull tight.
- Tuck the ends of the hair into the knot.
PRODUCTS USED ➳ Rusk Paste & Sebastian Shaper Hairspray
✫✫✫✫✫
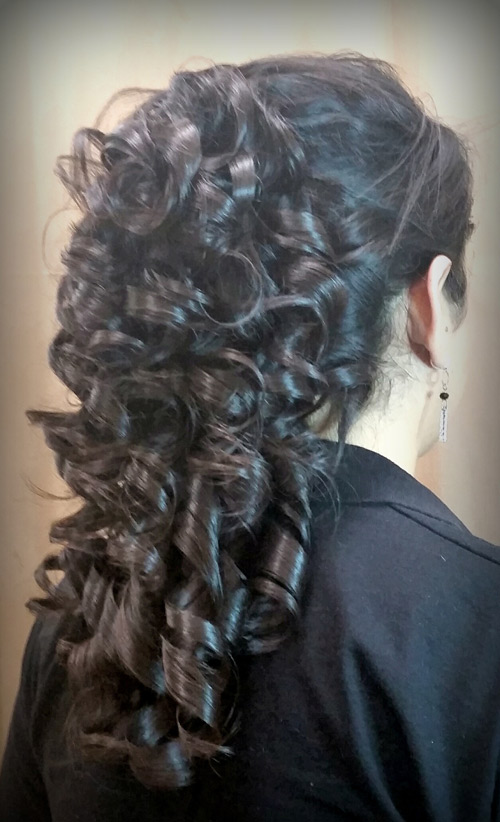
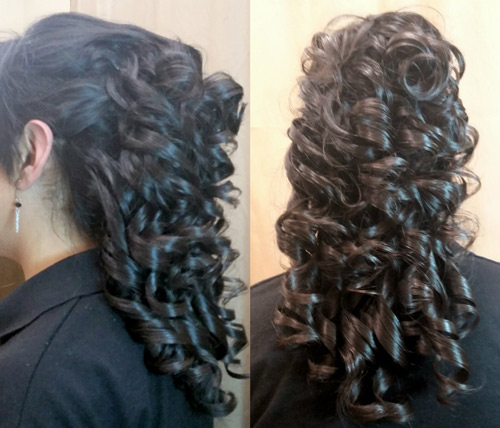
Get the Look: Christmas Ribbon Curls
(★Inspiration by Dianna Miller from La’ James International College Fremont)
- Part the hair from one ear across to the other and clip hair to the top, holding it out of the way as you curl the bottom half of the hair.
- Part the remaining hair the same way, once again clipping the top section up and out of the way. This time part the lower section in half & create 2 small ponytails.
- Curl the ponytails and then make one smaller ponytail above the other two.
- Curl that ponytail and the remaining hair. Start placing the curls and secure with bobby pins.


Leave a Reply