April 26, 2016
DIY Braided Bun Up-Do: Your Step-by-Step Guide

Craving a chic and easy hairstyle? Look no further than this easy-to-do braided bun up-do! In today’s TuesTorial, Amanda Villanueva (Cosmetology Student at La’ James International College in Cedar Rapids) shares a step-by-step guide to achieve this amazing look.
Prep Work for Your Braided Bun Up-Do
The key to a flawless braided bun up-do lies in the preparation. Here’s what the prep work should include to ensure your braided bun looks polished and holds strong:
- Address your hair texture: Depending on your hair type, you might use a volumizing mousse or texturizing spray to create grip and prevent the braid from slipping.
- A good detangling: essential for a smooth braid. Brushing out any knots or tangles will make the braiding process easier.
- Secure your base: Use hair elastics and bobby pins to ensure a secure and comfortable hold for both the braid and the final bun.
DIY Braided Bun Up-Do Tutorial
Now that we’ve nailed the prep work, let’s jump into the real action and show you how to create your stunning braided bun up-do!
What you need
- 4 Hair Elastics
- Bobby Pins
- Hairspray
Necessary Steps
Since we’ve defined the necessary requirements for this haircut, here are the steps you need to take to create a flawless DIY braided bun up-do.
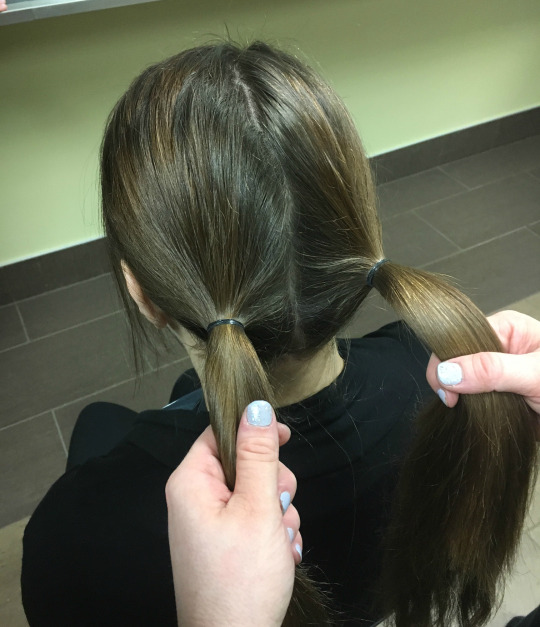
Step 1: Create 2 low ponytails
To create low ponytails, begin by detangling and parting your hair. For each ponytail, gather the hair on one side and secure it with a hair tie. Repeat on the other side.
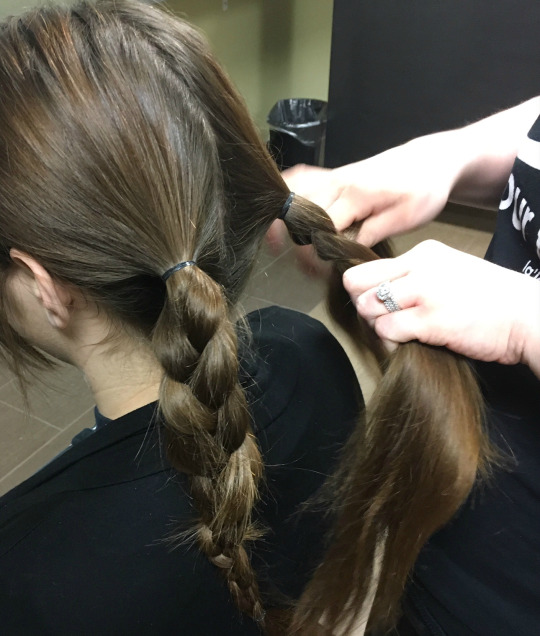
Step 2: Braid each ponytail into a classic three strand braid
Take the first ponytail and divide the hair into three equal sections. As you braid, gently incorporate loose hairs from the top of the ponytail to keep everything neat. Continue braiding until you reach the end of the hair, then secure the braid with another hair tie. Repeat this braiding process on the other ponytail to create two beautiful braids!
Step 3: Transform your ponytails into braided buns
Grab one braid and carefully loop it upwards and around the base of the other braid. Secure it in place with bobby pins, tucking the ends underneath for a seamless look.
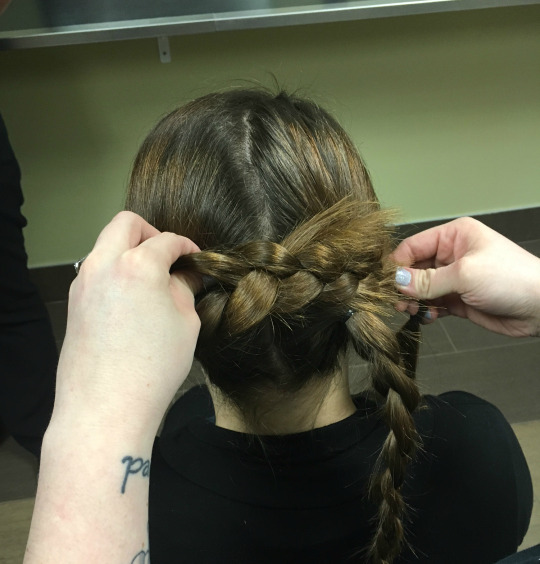
Step 4: Repeat this process on the other side
Wrap the second braid around the first ponytail & into any open spaces. Make sure to hide the elastic bands & then secure in place with bobby pins.
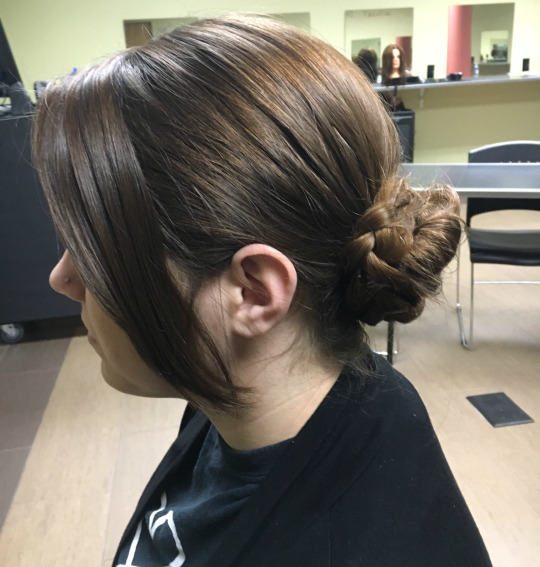
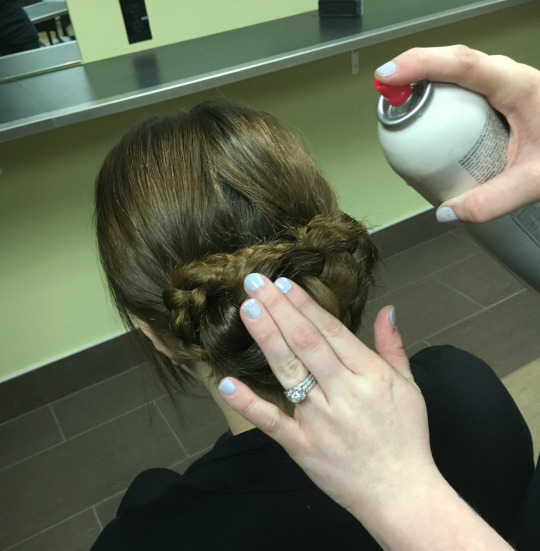
Step 5: Final touches
Pull apart the braids to give it a loose & messy look. Use hairspray to hold the bun in place and smooth any fly aways. *TIP: Messy is in so no need to worry about all the little hairs.
…. and now the Final Look!
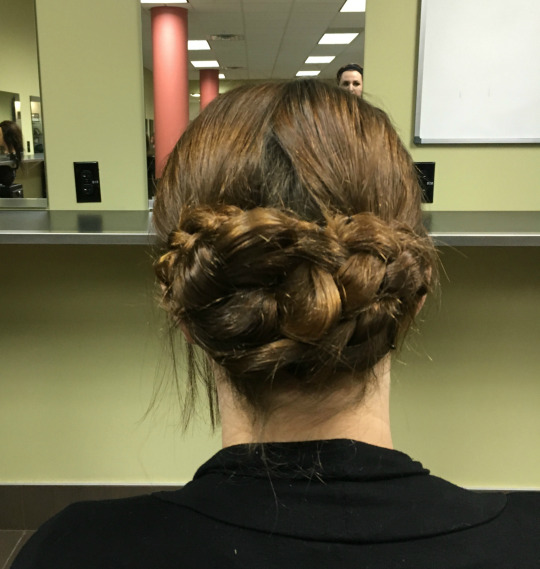
Beautiful job Amanda! Thank you for the great tips & for participating in today’s #LjicTuesTorial!
Wrapping Up
So there you have it! With a few simple steps and some braiding know-how, you’ve created a stunning braided bun up-do that looks like it came straight from a salon.
Ready to take your passion for beauty to the next level? La’ James International College offers a variety of programs to equip you with the skills and knowledge to succeed in the cosmetology industry. Contact a LJIC Career Planner today! They’ll guide you through our program options and help you find the perfect fit for your goals.
Leave a Reply