What is ice cube face massage?
Top 5 Benefits of Ice Cube Face Massage
This massage offers a variety of benefits:
- Helps to minimize pores,
- Controls oil production,
- Prevents premature aging & the appearance of wrinkles,
- Increases the circulation of blood on your face & reduces puffiness,
- Reduces acne: place an ice cub over the affected area, and the redness & swelling will reduce considerably. This will also help your makeup last longer.
Ice Cube Face Massage: A Step-by-Step Guide
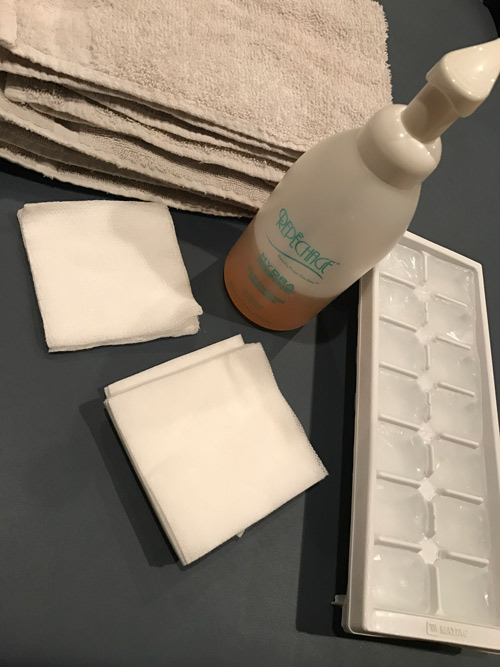
Before you start the massage, ensure you follow the required steps. Also, gather all the supplies you need for the massage.
What You Need:
- Ice Cubes
- Gauze or fine cloth
- Towel
Steps
Follow these simple steps to learn how to do an ice cube face massage:
Step 1: Gently cleanse the face.
Step 2: Wrap an ice cube in gauze & let it start to melt. Now, quickly & gently massage your face, neck with the ice cube.
Step 3: Do not press to hard, you do not want to damage the small capillaries under the skin. Place a towel down to catch and drips.
Step 4: Starting at the eyebrow use a circular movement across the left side of the forehead, softly under the eye.
Step 5: Circular movements down the left cheek going from the chin to the ears.
Step 6: Circular movements from the chin, along the jaw line & down the neck.
Step 7: repeat on the other side.
Step 8: DO NOT pat your face dry. Let it dry naturally to get maximum benefits.
After the Massage: See the Results for Yourself
Here’s what the final results look like after our staff tried an ice cube facial massage:

Do’s & Don’ts:
- Do not use more than 2 ice cubes. Using too many can cause skin problems that ca make situations worse.
- Only use ice cubes wrapped in a clean cloth (gauze). The capillaries under the skin ca break if you use the idea directly on the skin.
- Keep ice moving in circular movements.
Tips for getting the most out of ice cube face massage
For best results, use filtered or bottled water for your ice cubes to avoid impurities. Dilute the ice cubes if you have sensitive skin. Always wrap the ice cube in a clean cloth to protect your skin from the cold. Massage your face in circular motions, focusing on inflamed areas, for a maximum of two minutes. After the massage, apply moisturizer for additional hydration.
Curious to Discover More About Facial Massage?
Curious to Discover More About Facial Massage? Contact a career planner to learn more about our Massage therapy school in Iowa & its upcoming classes. Call 888.880.2108.
More DIY facials from our students
Repêchage seaweed facial for skin tone & clarity


Leave a Reply