October 5, 2016
DIY Marble Nails With Rhinestones
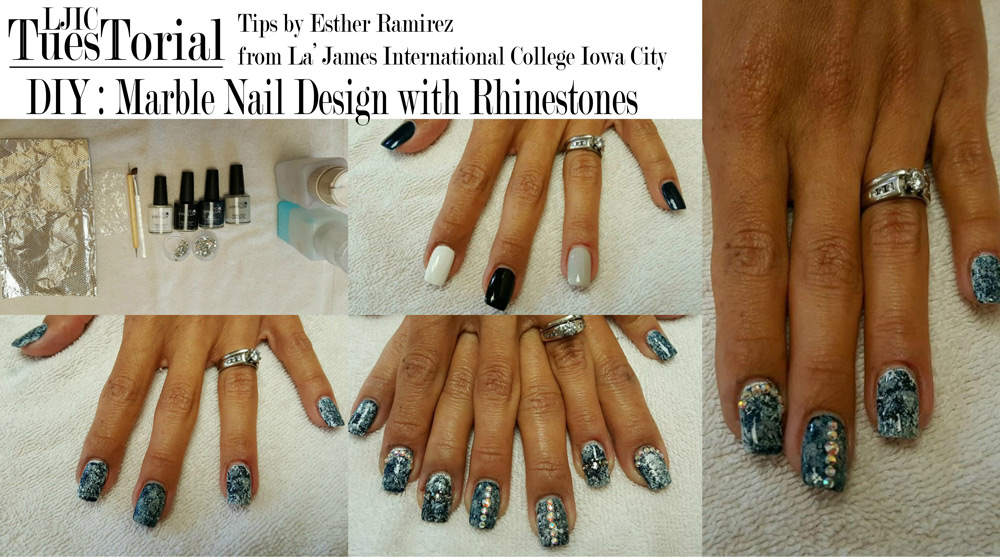
Forget about expensive salons and complicated techniques. This guide is all about achieving stunning results at home, with our easy-to-follow steps.
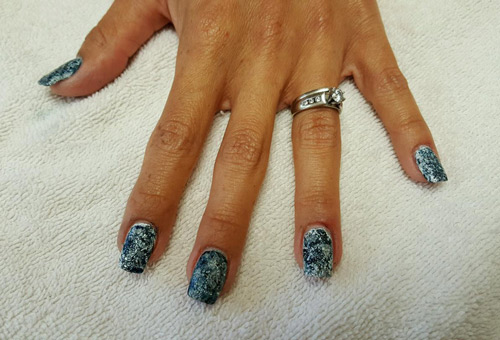
Today’s #LjicTuesTorial comes from Esther Ramirez, Cosmetology student from La’ James International College in Iowa City! Watch her demonstrate this gorgeous Marble Nail Design with Rhinestones. We LOVE it!
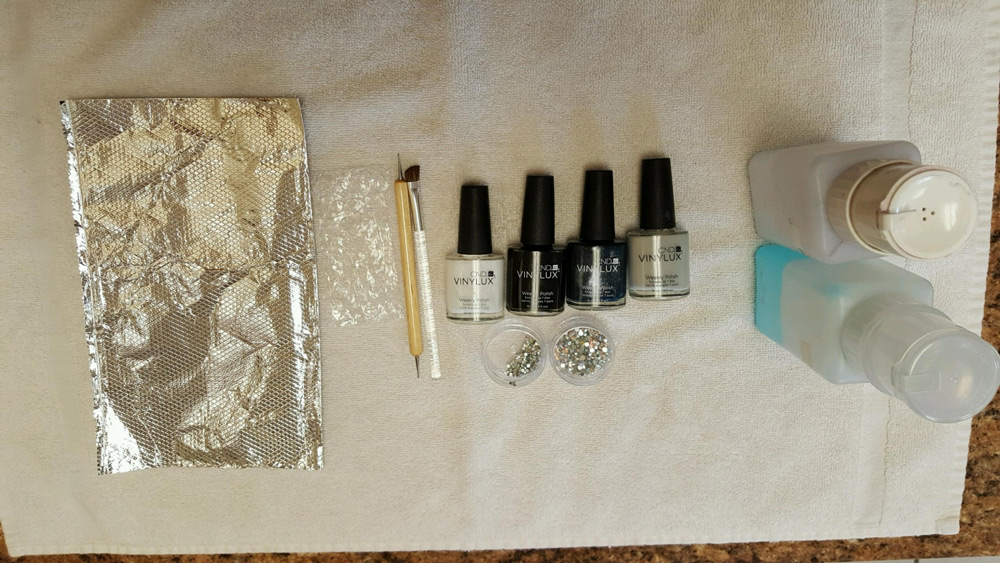
What you need
- 4 of your favorite polishes (Esther chose CND Vinylux)
- Foil
- Small Piece of Bubble Wrap
- Dotter
- Brush
- Rhinestones
- Nail Polish Remover
Necessary Steps
These are the essential steps for achieving stunning marble nails adorned with rhinestones:
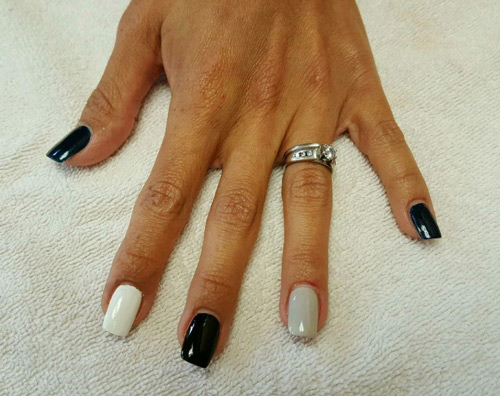
Step 1: Apply 1 coat of polish to the nails & allow them to dry.
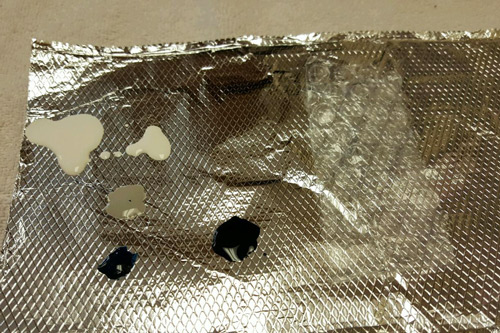
Step 2: Pour a small amount of polish onto the foil.
Step 3: Dap your piece of Bubble Wrap into the polish and then onto your nails creating a marble effect. Play around and don’t worry about getting messy! Once your nails are dry, clean up any excess polish with a brush and nail polish remover.
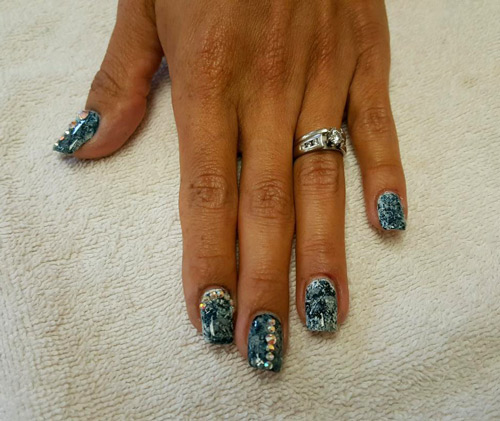
Step 4: Optional – Use top coat to adhere any rhinestones. Get creative with your designs.
Final Effects
WOW! Check out the final look. Fantastic job Esther, we LOVE this look! Thank you for participating in today’s #LjicTuesTorial. Now you can unleash your inner nail artist with the help of our step-by-step Marble Nails tutorial, featuring the added sparkle of rhinestones for a touch of glamour.
Explore Our Video Tutorial
Watch the complete DIY Marble Nails & Rhinestones tutorial video here:
While you’re here, feel free to explore our similar DIY marble nail tutorials that our students from La’ James International college prepared:
Learn more about our programs
Interested in nail technology as a career? Contact a Career Planner to learn more about La’ James International College and upcoming classes. Call 888.880.2108 or visit our nail technology school page.

Leave a Reply