February 9, 2016
DIY Spring Twist Tutorial
You’re ready to try spring twists, but where do you start? Don’t worry; we’ve prepared an easy-to-follow DIY spring twist tutorial you can try now! You don’t have to be a pro.
How to Make a Spring Twist?
Spring is in the air… FINALLY! Or should we say, “Spring is in the Hair”?! Either way, we a have fun hairstyle for you to try! It’s perfect for when you don’t have time for braiding hair and can work great with hair extensions, too.
Today’s Spring Twist Tutorial comes from Kayla Thurman (Cosmetology Student from La’ James International College – East Moline). All it takes is a few minutes to get a look that mimics a passion twist; hair doesn’t need to be in fancy crochet braids to be fabulous! Just tuck hair or hair extensions into a beautiful low crown around the head – here’s how to do it:
What You Need
You will need a few simple items that you probably already have at home:
- Comb
- Headband
- Bobby pins
- Curling tool (option)
Necessary Steps
We’ve outlined a few simple steps so you can do spring twists at home with little to no effort:
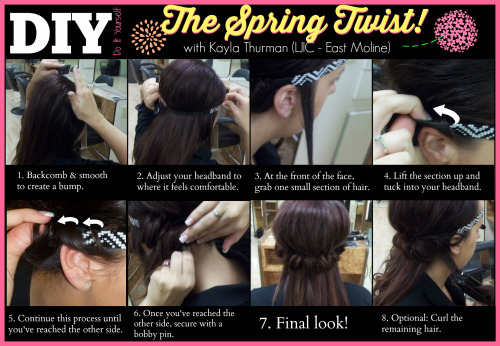
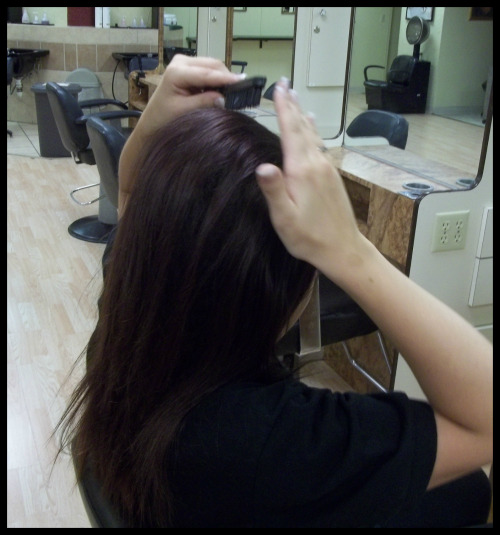
- Step 1:
Begin by backcombing the hair to create a bump. Make sure to smooth out the hair once you are done with your backcombing technique.
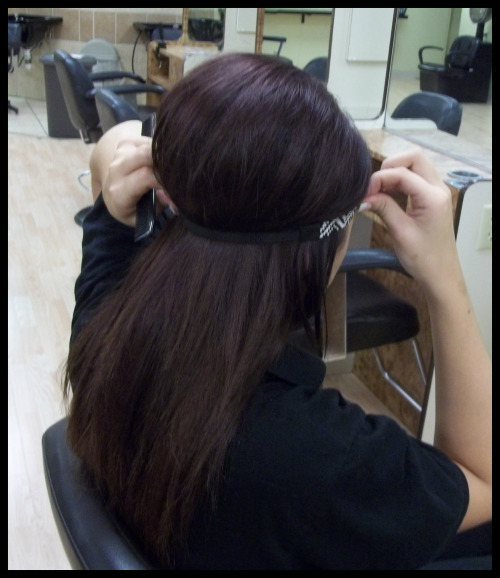
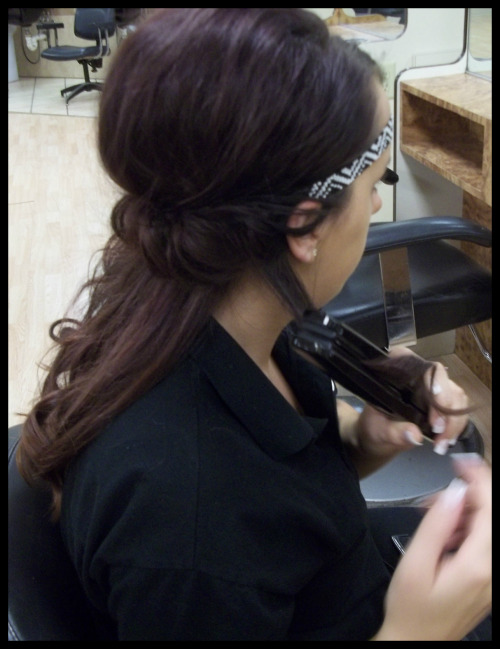
- Step 2:
Grab your headband and adjust it to your comfort level. Kayla decided to go with a more boho look.
- Step 3:
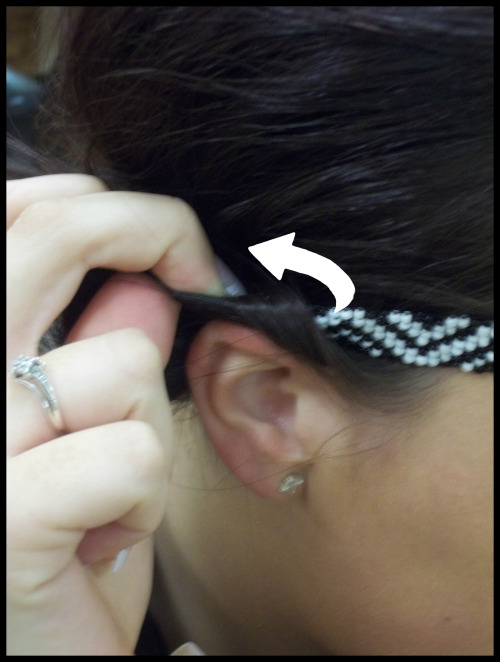
Grab one small section of hair at the front of the face.
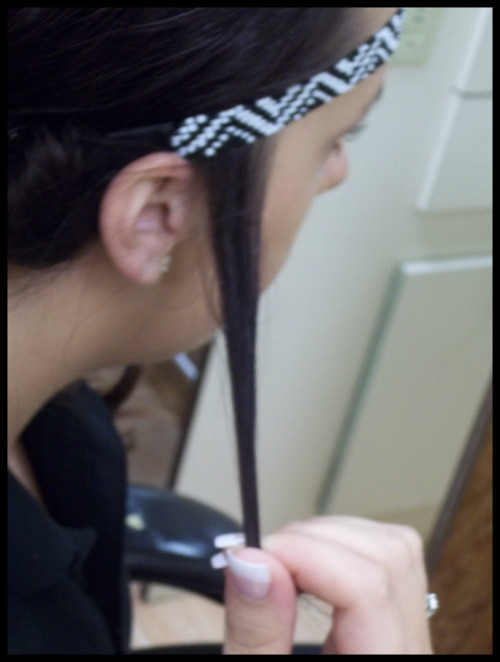
- Step 4:
Take the section of hair up and tuck into your headband.
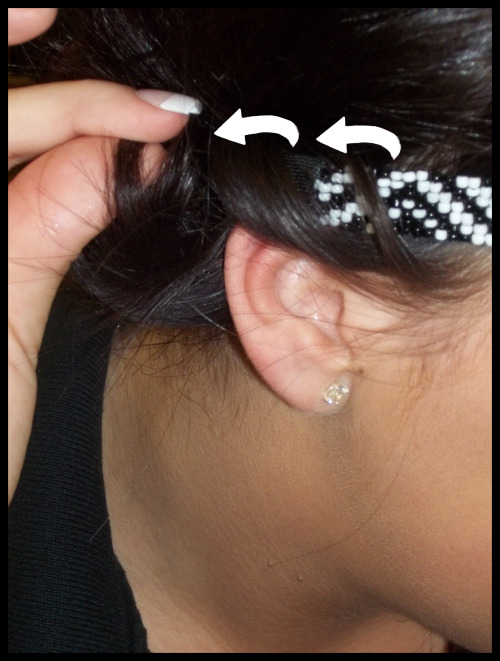
- Step 5:
Continue this process until you have reached the other side. Make sure to add in one new small section of hair each time.
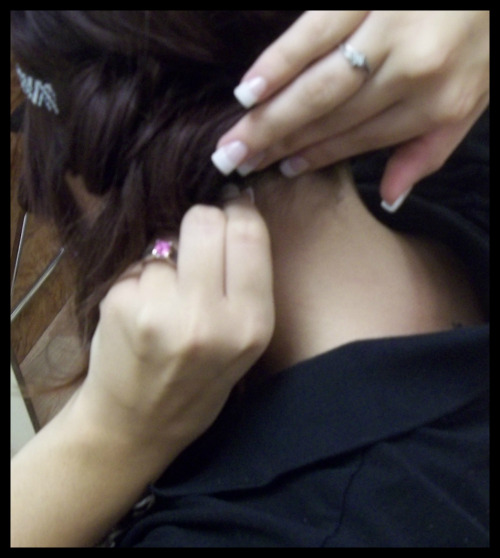
- Step 6:
Once you have reached the other side, use a bobby pin to secure the hair in place.
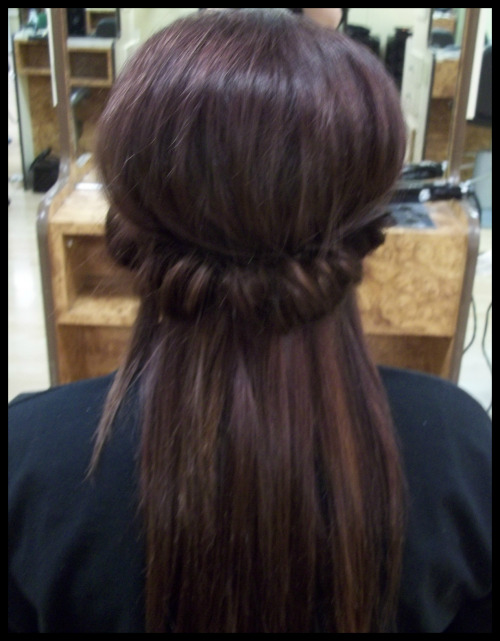
- Step 7:
FINAL LOOK! You can either stop your style here OR you can continue to the next step for a softer feel. You can also twist hair before tucking in step 4, or after braiding hair you can tuck the braids, too.
- Step 8:
Optional: Grab your trusty curling tool and curl the remaining hair. Once finished, adjust the headband and bump. Then smooth any fly-aways and spray with hairspray for a protective style.
Thanks, Kayla, for sharing these great tips & participating in this week’s LJIC Tues-torial!
How to Make Your Spring Twists Last Longer?
Here are some tips on how to make your spring twists last longer:
- Prepare your hair – Before you start twisting, make sure your hair is clean and detangled.
- Twist tightly – The tighter you twist your hair, the longer your twists will last. However, be careful not to twist too tightly, as this can damage your hair.
- Use a twisting gel – It will help to hold your twists in place and prevent them from unraveling.
- Minimize touching your skin – Once your twists are in, try to avoid touching them as much as possible. This will help to prevent them from frizzing.
How to Prevent Frizz in Your Spring Twists?
Maintaining frizz-free spring twists involves effective moisture management and minimizing friction. Therefore:
- Apply a deep conditioner (or a leave-in conditioner for dry hair) before styling, as it aids in combating hair dryness, a key contributor to frizz.
- Avoid excessive tension during styling, as overtightening your hair can lead to frizz.
- Opt for a satin or silk pillowcase while sleeping to reduce friction and prevent morning frizz.
Explore More Tutorials for Trendy Boho Vibes
If you’re in the mood for another chic boho hairstyle, don’t hesitate to explore this tutorial on crafting your own DIY boho bubble braid.
Explore Exciting Opportunities at La’ James International College
If you interested in learning more about upcoming programs and starting your journey at La’ James International College then call 888-880-2108 or visit our programs page today!
Leave a Reply